|
|
|
![]()
Building the Mini Jungle Gym Front Door
The Front Door is a truly
great feature of these cages.
The working hinges are a real
convenience,
since you need to get in and
out of your lizard's enclosure several times each day,
and lower second door is a very handy addition.
Okay, let's get started.
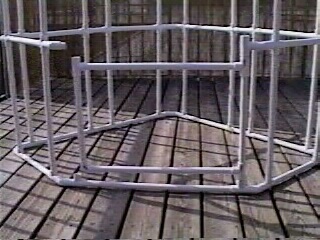
We've got the frame all
together right?
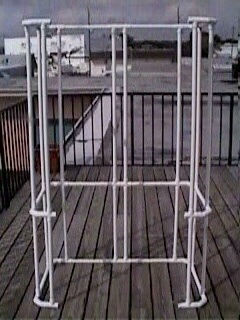
So,
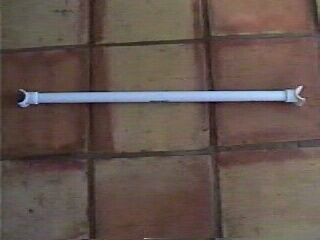
let's add the top and bottom of the door,
to complete the cage frame shape.
Cut two [G]
poles from the 3/4" pvc.
Put the T connectors on the ends of each pole.

Go ahead and put them in to complete the frame shape.
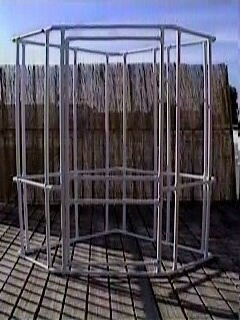
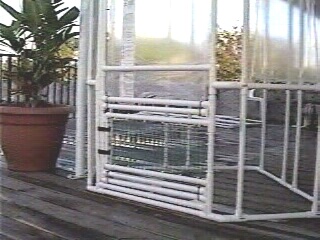
Now it's time to get down
to the door construction itself.
Here's what it looks like completed... for reference.

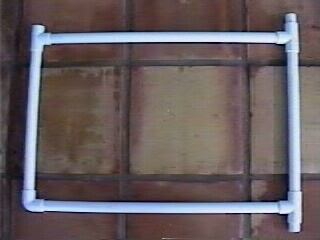
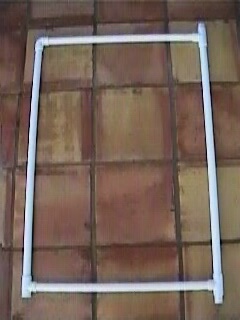
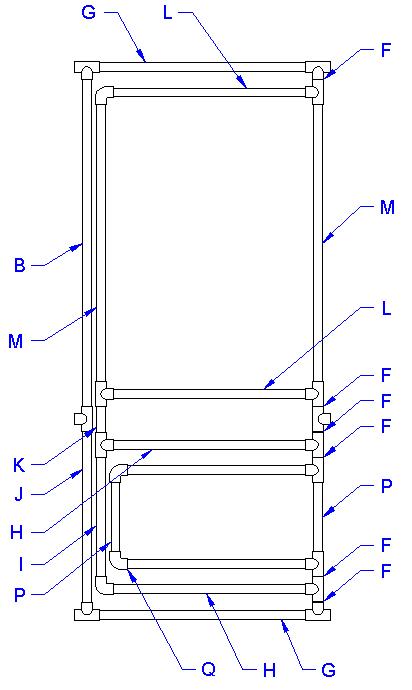
Let's build from the bottom
up. To make the lower section of the door:
Cut two [H] poles and two [I]
poles.
Assemble with three T connectors and one corner.
Cut two [E] pvc sections and put them in as shown: top and bottom.
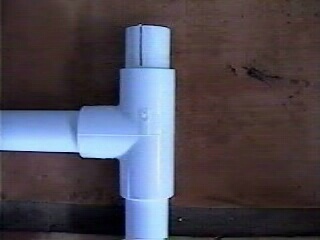
The short sections sticking
out of the two T connectors are
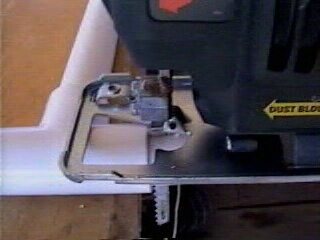
going to be hinges. To make them work well, you need to 'slot' them.
A jig saw works well to cut the slots. Be careful!
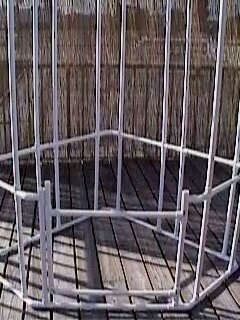
Set the whole assembly
in the door frame and put a T connector on the top right side,
connecting it to the cage frame. See how nice those hinges work now?
(Just ignore that the
cage in these pictures is the Big Jungle Gym...
It's the exact same door
on both cages).
For the left side, cut a [C] pole and top it with a T connector.
Next, cut a [J] pole and put it into the door on the left side top.
You can congratulate yourself
now, because if you made it this far...
the rest will be pretty easy.
The top of the door is just like the bottom - except bigger and upside down.
Cut two [H] poles and two [K] poles.
Assemble with three T connectors and one corner connector.
Insert the two [E] sections of pvc into the two right-side T's, and slot them.
Add this top section to the cage door.
Cut another [B]
pole for the lefthand side of the cage door frame.
Push and pull the pvc until the door fits nicely. Not bad!
Just one more tricky little thing to do...
Those wide gaps above
and below the door have to be filled.
Cut two [L]
pvc poles and put the Oversized T connectors on the ends.
(These are the 1" x 1" x 3/4" T connectors).
Now here's the tricky part:
Use a jig saw to cut each
T connector in half and trim their edges so they fit in the gap.
Cable tie the top one
in place, so it doesn't fall out when you open the door!
If you don't have any long cable-ties, just 'daisy-chain' two together.
Notice the [M]
bolt and nut now added to keep the door securely shut.
Another bolt is positioned a similar distance
from the bottom.

If you really want to
go the extra mile and make an awesome door
here's how...
Use the same techniques
you just used and make a small hinged door
to fit within the lower opening of the large door.
Start by taking that original
right side [I] pole out and topping it with
another T connector with a slotted plug.
Then shorten the pole (cut it to size: [N]) so
that another T and slotted plug will fit on the bottom.
Add two [O]
poles horizontally and another [N] pole,
connect with two 90 degree corner connectors,
and adjust everything for a nice snug fit.
Use velcro loops to hold the lower door shut,
or just drill for a longer bolt: [P].
Cut four more 1" x 1" x 3/4" Ts in half and make two more gap-filling poles, using two [Q] poles.
Cable tie in a mesh rectangle
-- and you've got a
safe and easy way to get food in and out of the cage,
no matter what mood your iguana is in!
Now that's a great door!
All of these measurements are listed in the Measurements & Materials List.
Now we've done the
frame, and the door, so next let's do the
ceiling, and then the back panels.
Once we've finish the windows and the Basking
Hammock, we're done!
I hope that these plans
are working out well for you.
I've put a great deal of time and effort into them.
If you've ordered the Measurements & Materials List from me. THANK YOU.
If you're using the plans
without the Measurements List...
you're probably wasting an awful lot of your own time.
I can email you the itemized
shopping list --
which includes more tips and explanations --
and all of the measurements, too.
You can mail a check for
$19.95 to: Keith Van Zile
1125 Clare Avenue, West Palm Beach, FL 33401
or just use Paypal to get them nearly right away.
Introduction | The Plans | The Cages | Q&A
Copyright 2001 Lizardcages.com
All rights reserved.